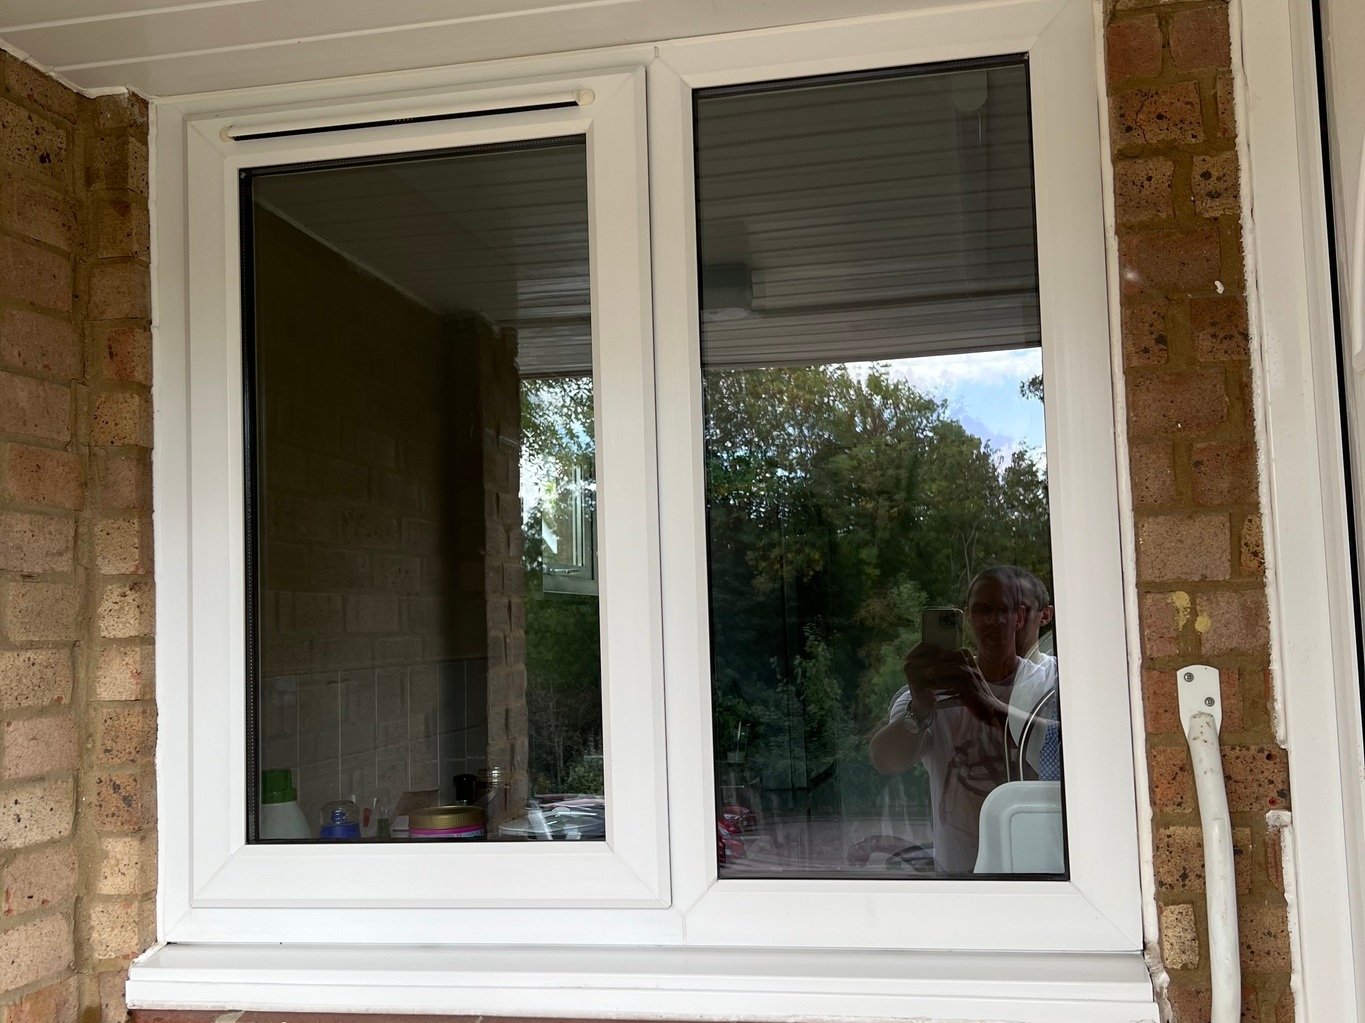
Cleaning windows is one of those jobs that seems simple until you try it. You spray, you wipe, and you’re left with streaks, smears, and a window that looks almost as bad as it did before you started. The good news is that with the right technique, the right tools, and a little patience, you can get genuinely streak-free results — no professional required.
Here’s the complete guide to cleaning your windows properly, inside and out.
The Right Time to Clean Matters More Than You Think
Before you even pick up a cloth, think about timing. Cleaning windows in direct sunlight is one of the most common mistakes homeowners make. When the sun hits the glass, your cleaning solution dries too quickly, baking streaks and water marks onto the surface before you can wipe them away.
The ideal conditions are an overcast day, or early morning or late afternoon when the windows are shaded. If you’re cleaning inside, this matters less, but for exterior glass, timing can mean the difference between a sparkling finish and a smeary mess.
If you’re planning a deep clean, aim for spring or autumn. Temperatures are milder, which means your cleaning solution won’t evaporate too fast, and you’re clearing away seasonal grime — winter salt and dirt in spring, summer pollen and dust in autumn.
Start with the Frames, Sills, and Tracks
Most people go straight for the glass. That’s a mistake. If you clean the window panes first, dirt from the frames and sills will drip down and undo your hard work.
Start by vacuuming or dusting the window frame, tracks, and sill with a crevice attachment, a soft brush, or a dry microfiber cloth. This removes loose dust and debris before it turns into a muddy film when you introduce liquid.
For the tracks and corners — the spots where grime really accumulates — an old toothbrush or a soft-bristled brush is ideal. Work the brush into the grooves and along the edges, then wipe away what you’ve loosened.
Cleaning the Frames
If you have uPVC frames, avoid harsh chemicals, bleach, or abrasive pads. Warm water with a small amount of mild washing-up liquid and a soft sponge or microfiber cloth is all you need. Wipe from top to bottom, paying attention to handles, hinges, and the rubber seals. Rinse with a clean damp cloth and dry thoroughly to prevent water marks.
For aluminium frames, the same gentle approach applies. Mild detergent and warm water, applied with a non-abrasive cloth, will keep powder-coated surfaces looking good. Harsh cleaners can damage the finish.
Cleaning the Sills
Windowsills attract dust, pollen, and sometimes mould. A dry microfiber cloth first lifts loose debris. Then, for a deeper clean, a simple solution of two tablespoons of dish soap in warm water cuts through grease and grime without damaging painted or wooden surfaces.
If you’re dealing with stubborn marks or mould, a diluted vinegar solution (one part vinegar to three parts water) works well for most vinyl and painted wood sills, but test a small area first if you’re unsure. Avoid oversaturating wooden sills — too much moisture can warp the wood or damage the finish. Apply your cleaner to the cloth, not directly to the wood.
Cleaning the Glass: The Streak-Free Method
Now for the main event. There are a few schools of thought on the best approach, but the professional consensus is clear: a squeegee and a microfiber cloth will give you the best results.
What You’ll Need
- A high-quality squeegee with a soft sponge on one side and a rubber blade on the other
- Microfiber cloths — at least two: one for washing, one dry for buffing
- A cleaning solution (see below)
- A bucket of warm water
The Cleaning Solution
You don’t need expensive specialist sprays. Professional cleaners often use nothing more than warm water with a small amount of dishwashing liquid. A couple of drops is enough — too much soap leaves residue that causes streaks.
If you prefer a DIY spray, a simple mix of white vinegar and water works well for most glass. For a heavier-duty homemade cleaner, combine 2 cups water, 1/2 cup white vinegar, and 1/4 cup rubbing alcohol with a couple of drops of dish soap.
Important UK note: Some cleaning professionals advise against vinegar on windows because it can attract flies. If you live in an area with a fly problem, stick with a simple soapy water solution instead.
The Technique
- Dust first. Run a dry microfiber cloth over the glass before applying any liquid. This removes fine dust that would otherwise turn into a streaky film.
- Apply the solution. Dip the sponge side of your squeegee into the soapy water (or spray the glass generously) and wipe the window in a circular or top-to-bottom motion. You want plenty of solution to dissolve the dirt — skimping leads to streaks.
- Squeegee from top to bottom. Starting in the top corner, pull the squeegee down in a smooth, continuous stroke. Wipe the blade clean with a rag after each pass.
- The S technique. Some professionals recommend moving the squeegee in an S-shaped motion rather than straight lines, keeping the blade in constant contact with the glass.
- Buff with a dry microfiber cloth. This is the step most people skip. Even after squeegeeing, a dry cloth buffing the glass picks up any remaining residue and leaves a truly streak-free finish.
- Use different directions for inside and outside. Clean the inside horizontally and the outside vertically (or vice versa). That way, if you see streaks, you’ll know which side they’re on.
What About Magnetic Window Cleaners?
You’ve probably seen these viral gadgets — a two-part tool with magnets that supposedly lets you clean the outside of your windows from inside. The reality is mixed.
One reviewer found the magnet strength lacking and the tool fell off repeatedly, even breaking after a few passes. Another found that with patience and careful technique, it worked reasonably well for upstairs windows they couldn’t otherwise reach safely.
The verdict: Magnetic cleaners can be useful for hard-to-reach upstairs windows if you’re willing to take your time and follow the instructions carefully. But for ground-floor windows, a squeegee and microfiber cloth will give you better, faster results. They’re not a replacement for proper technique.
Cleaning Window Screens
If you have removable screens, pop them out and clean them separately. A soft brush or vacuum removes surface dust and cobwebs. For a deeper clean, wash them with warm soapy water, rinse, and let them dry completely before putting them back.
If the screens are fixed in place, a microfiber cloth or mitt soaked in warm soapy water works well for the parts you can reach.
Common Mistakes to Avoid
Cleaning in direct sunlight. The solution dries before you can wipe it, leaving streaks.
Using too much soap. A little goes a long way. Excess detergent leaves a residue that attracts dirt and creates smears.
Skipping the dry buff. A final pass with a clean, dry microfiber cloth is the secret to a genuinely streak-free finish.
Using the wrong cloths. Paper towels can leave lint. Old t-shirts or newspaper (with soy-based ink) work in a pinch, but microfiber is the best choice.
Neglecting the frames and tracks. Dirt from above will ruin your clean glass. Always work top-to-bottom: frames first, then glass.
How Often Should You Clean?
For most homes, exterior windows twice a year (spring and autumn) is sufficient, while interior glass can be cleaned monthly if needed. Homes near busy roads, in high-pollen areas, or with pets may need more frequent attention.
The Bottom Line
The best way to clean windows isn’t about expensive products — it’s about technique and timing. Clean on an overcast day. Start with the frames and sills. Use a simple soapy water solution. Squeegee from top to bottom. And always finish with a dry microfiber buff.
Get those basics right, and your windows will be genuinely streak-free — letting in more light, improving your home’s appearance, and giving you a clear view of the world outside.